The amount of hobby projects I start, or let alone finish, has decreased quite a bit since I started my professional career. Nowadays my projects are usually things that do not exist in a market, or that only exist in an unsatisfactory form. This project falls into the first category; given the vast increase in the amount of gear marketed towards the gamer community I am still perplexed why I had to build this USB DAC / amplifier for my weekly fixes of online gaming with friends.
There are some headphones on the market which allows the user to adjust the volume separately for voice chat and game audio. It narrows down the list of headphones to purchase to just a few products. Moreover, the functionality is also often implemented with software, which is way too unreliable for me. The same functionality could be achieved by using a software mixer without any special hardware, but given how often Windows seems to update itself and break features that is a path that I was not willing to travel.
The key design choice was that I wanted to use two separate USB audio chips, one which is dedicated to voice chat and one that handles everything else. Both chips need to have separate volume controls. I also threw in an optical audio input (with TI DIR9001) for a network media player, and decided that I could do the mixing with an FPGA. I ended up using two separate chips just so that it would be easy to distinguish the chips from each other in Windows; I was already familiar with TI PCM2707, and chose to accompany it with a C-Media CM108AH that also had a microphone input. Both chips can be configured to use I2S for inputs and outputs.
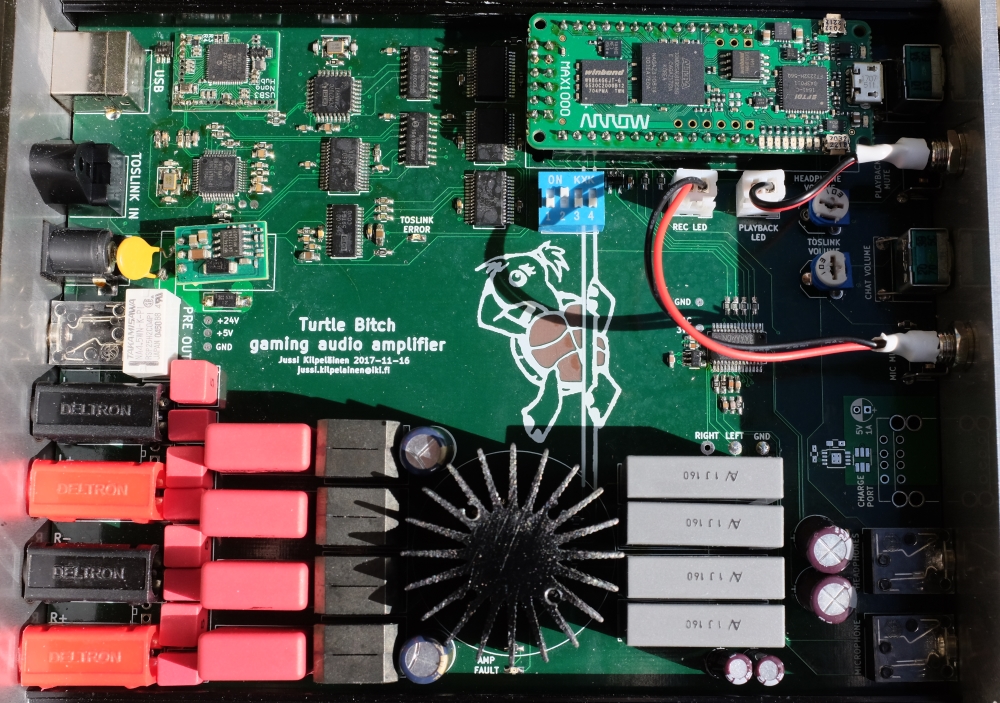
One of the most difficult things to get right was to make sure that the USB bus would work reliably if both chips were active. Through trial and error I found out that the USB 2.0 hub inside Microchip USB5742 seems to work well, and ended up integrating a Muxtronics Nanohub on the board.
After leaving the USB audio chips the I2S buses go through Si86xx isolators as I wanted to ensure that none of the USB power supply noise gets into the sensitive analog parts. After isolations I am using TI SRC4190 sample rate converters as I didn’t really want to spend the time to do the sample rate conversions on the FPGA.
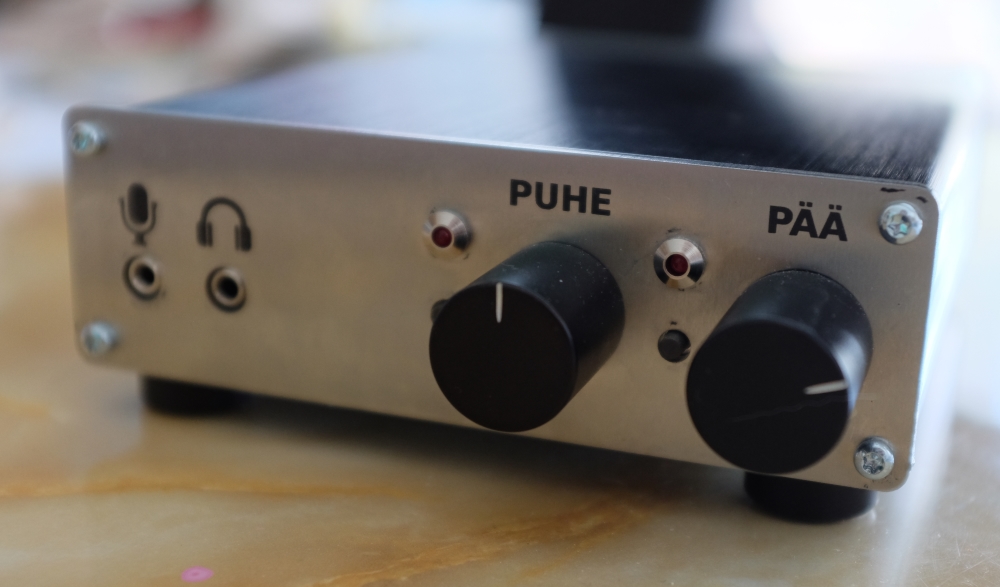
Around the time of designing this I spotted an advertisement in a magazine, promoting the compact MAX1000 FPGA board and was immediately interested. After waiting for a couple of months I finally got my hands on one, and as a result this amplifier is also sporting an Intel MAX10 FPGA. The FPGA does the mixing, and its Nios II softcore processor also controls all the buttons, knobs and switches of the user interface.
For the DAC I am using a Cirrus Logic WM8731 which was yet another chip I was already familiar with. It acts as the I2S master, and has both headphone and line level outputs. Initially I was going to use passive speakers so I hooked it up to an TPA3116 class D amplifier circuit with the option of having a preamplifier output as well.
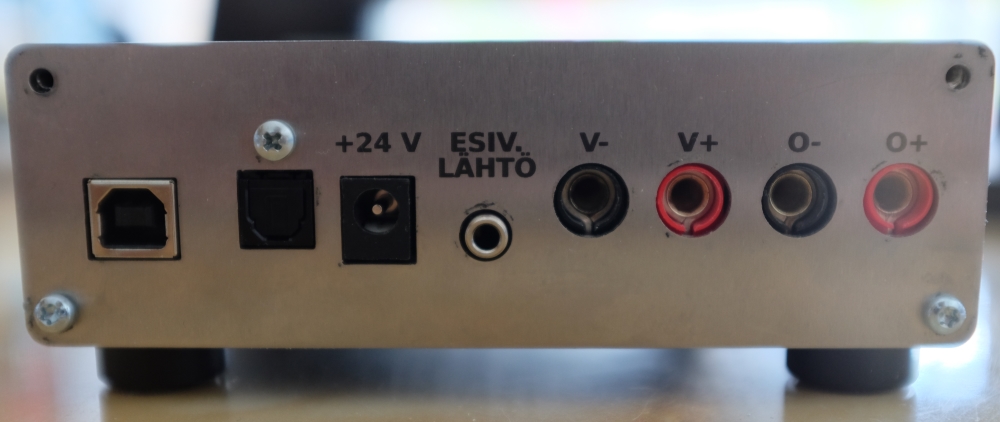
I have been using this system for over a year now and it has worked well. If I were to do a re-spin, I would change a couple of things; first of all, having the DC input next to the Toslink input was a bad idea as it is possible to jam the barrel plug to the Toslink connector and damage it. Moreover, sometimes Windows does not find the USB devices after boot unless I reconnect the USB lead – probably it would have been wiser just to have two USB connectors on the back.
I have built two of these boards, one for myself and one for a friend, and have no interest in building more as bringing the cost down would require quite significant effort. Therefore I challenge manufacturers to stop fiddling with RGB leds and offer something as good as this amplifier to the rest of the world. That is, unless you are still busy trying to make an usable solid state relay…
For those who are curious to find out more, check the schematic. The schematic and the information in this blog post has been licensed under CC BY 4.0.
Your circuit design is beautiful. This doesn’t look like a thrown-together hobby project, but a purchased product.
Thanks for the kind words, they feel nice after the many hours I put into this project. Have a great weekend!