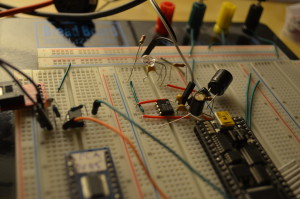
The Moppy project, which enables an Arduino to use floppy drives to play music, is something a lot of people have tried, but I was not comfortable with installing Netbeans to run the Java app. Instead, I built my own system from scratch.
I used my NXP LPC1768 dev board “LandTiger” for all the complex stuff. It had the MID file in its memory as an array, parsed it and sent the notes over SPI.
A Micronova Mercury FPGA board received the notes and generated the waveforms to play the notes. I used an FPGA so that I could utilize its parallelism for the waveforms and to prevent my VHDL skills from rusting. A neater way would have been to replace the microcontroller with a softcore one inside the FPGA, but I didn’t feel the need as I was just dicking around.
Regrettably, this video is the only piece of evidence I have left. Well, the system consisted of a lot of software and a few wires, so there was nothing much to see.
